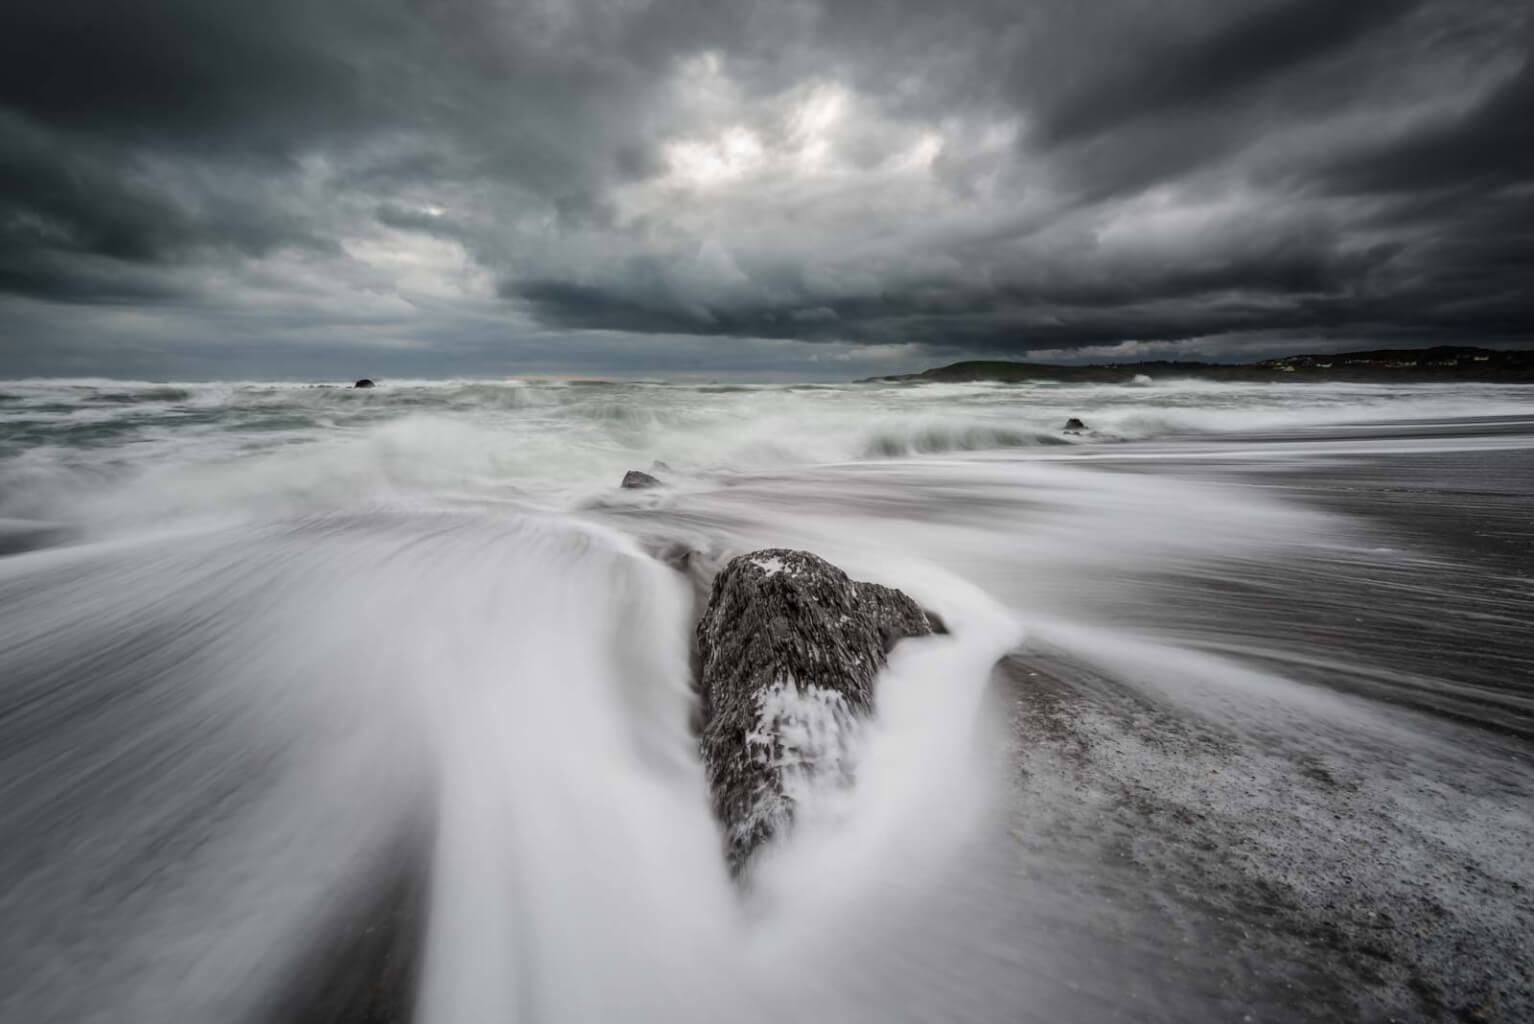
How it was captured, the making of a photograph.
How it was captured, the making of a photograph.

I get literally hundreds of messages a month on social media asking how did you do that? or more to the point how can I do that?
So I had a brainwave…. rather than answering one by one why not do a blog on it and save myself time 🙂
I also run group workshops and one to one tuition photography workshops you can click here for more details if you want.
Firstly I took this Photography at Long Strand Beach, just outside Clonakilty, West Cork, Ireland.
You simply don’t just go somewhere to take a photograph along the Wild Atlantic Way. You wait for the tide, the weather and the mood to be right. No matter what the weather there is always a quality photograph to be taken its just a matter of adopting to your surroundings and conditions but on this occasion, I was waiting for exactly this.
The first thing I always say about coastal photography is to respect the Sea. Its a mighty powerful beast and can surprise us all at times. Two rules I have are firstly never ever turn your back on the sea, I really mean NEVER. The second rule is if you think it’s not safe then it definitely isn’t, so move now.
So with dark heavy skies, the mood was just perfect for this shot.
The tide was about right with a good powerful swell behind it, the sort of waves that sends shivers down your spine and make the ground shake beneath your feet never mind making you question exactly why you are here in the first place all adding to the mood.
Anyway, I had been watching the waves and waiting for this moment for about an hour. Taking photographs of the surrounding area while waiting for the tide to withdraw just enough to give this rock a bit of breathing room. Finally, as the moment was nearly right I start working out light levels and what filters etc.. would be needed.
Looking at the speed of the water I was guessing about 1/4 to 1 second in length. Looking to maximize depth (depth of field) and still keep the image sharp with less diffraction I kept the aperture to F11. the shutter speed was about 8 stops too high. I decided on a 6 stop nd filter with a 3 stop soft Graduated filter.
Ater a quick test shot it was nearly right but just too dark. Increasing the ISO up to ISO100 from ISO64 was nearly perfect.
After selecting the Focus point about 7 metres from the camera which would be approx 4 metres behind the rock and setting the camera to manual focus I moved towards the rock and waited for the swells to come in and stayed watching them for about 10 mins. I stepped out into the water and took position with the camera. I had a rather large stone with me. Once I found the position I was happy with I dropped the stone to mark my spot. every wave that came in caused me to retreat even though I had a good pair of wellies on :-). The quick-release system on the Formatt Hitech filter holder is great for this purpose, along with the quick release plate on the Manfrotto Tripod.
So the position was set via the large stone, filters reinstalled and tripod attached. I just needed the right wave now and then there it was. As soon as it slowed its climb up the beach I ran out to position dropped the tripod above the stone, levelled the camera and took two shots this was the second one. again as I said at the start if it doesn’t feel safe it probably isn’t, I got drowned about 3 seconds after taking that shot. The next wave came in about 6 inches over my wellies. There is always a trade-off, this was a price worth paying though 🙂
Click here for my Photography workshops and one to one tuition
Any other questions let me know
See you out there,
Kieran Hayes.
